シャープ Sharp KI-GS50 / KI-GS70 加湿空気清浄機分解清掃 Cleaning DIY
This is a Japan model of Sharp air purifier therefore I am including a machine translated Japanese guide to disassemble it.
Warning: This is not a complete guide to include every step, this is a note to remind myself the important steps and you may take it as reference if you would like to clean your air purifier by yourself. (Don't break it)
これはシャープの空気清浄機の日本モデルなので、機械翻訳された日本語の分解ガイドをお付けします。
警告 これは重要なステップを自分自身に思い出させるためのメモであり、自分で空気清浄機を掃除したい場合に参考にしてください。(壊さないでください)
Steps
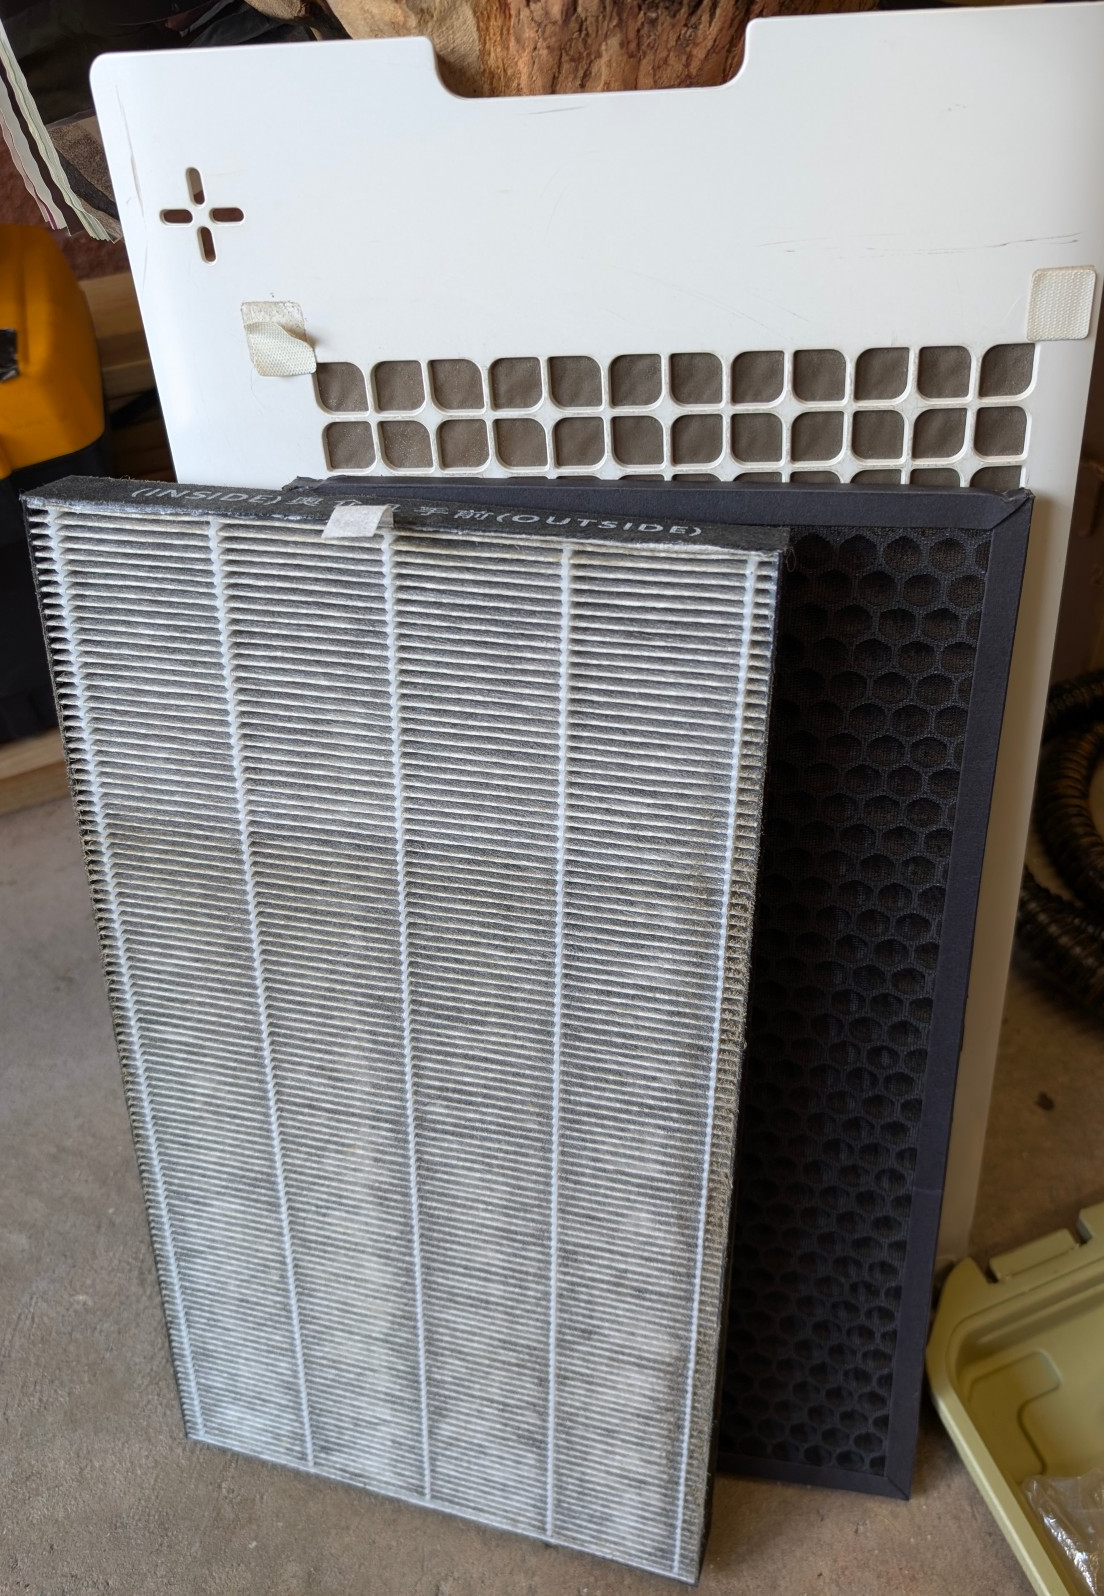
- Open the back cover and remove the filters
裏蓋を開け、フィルターを取り外す

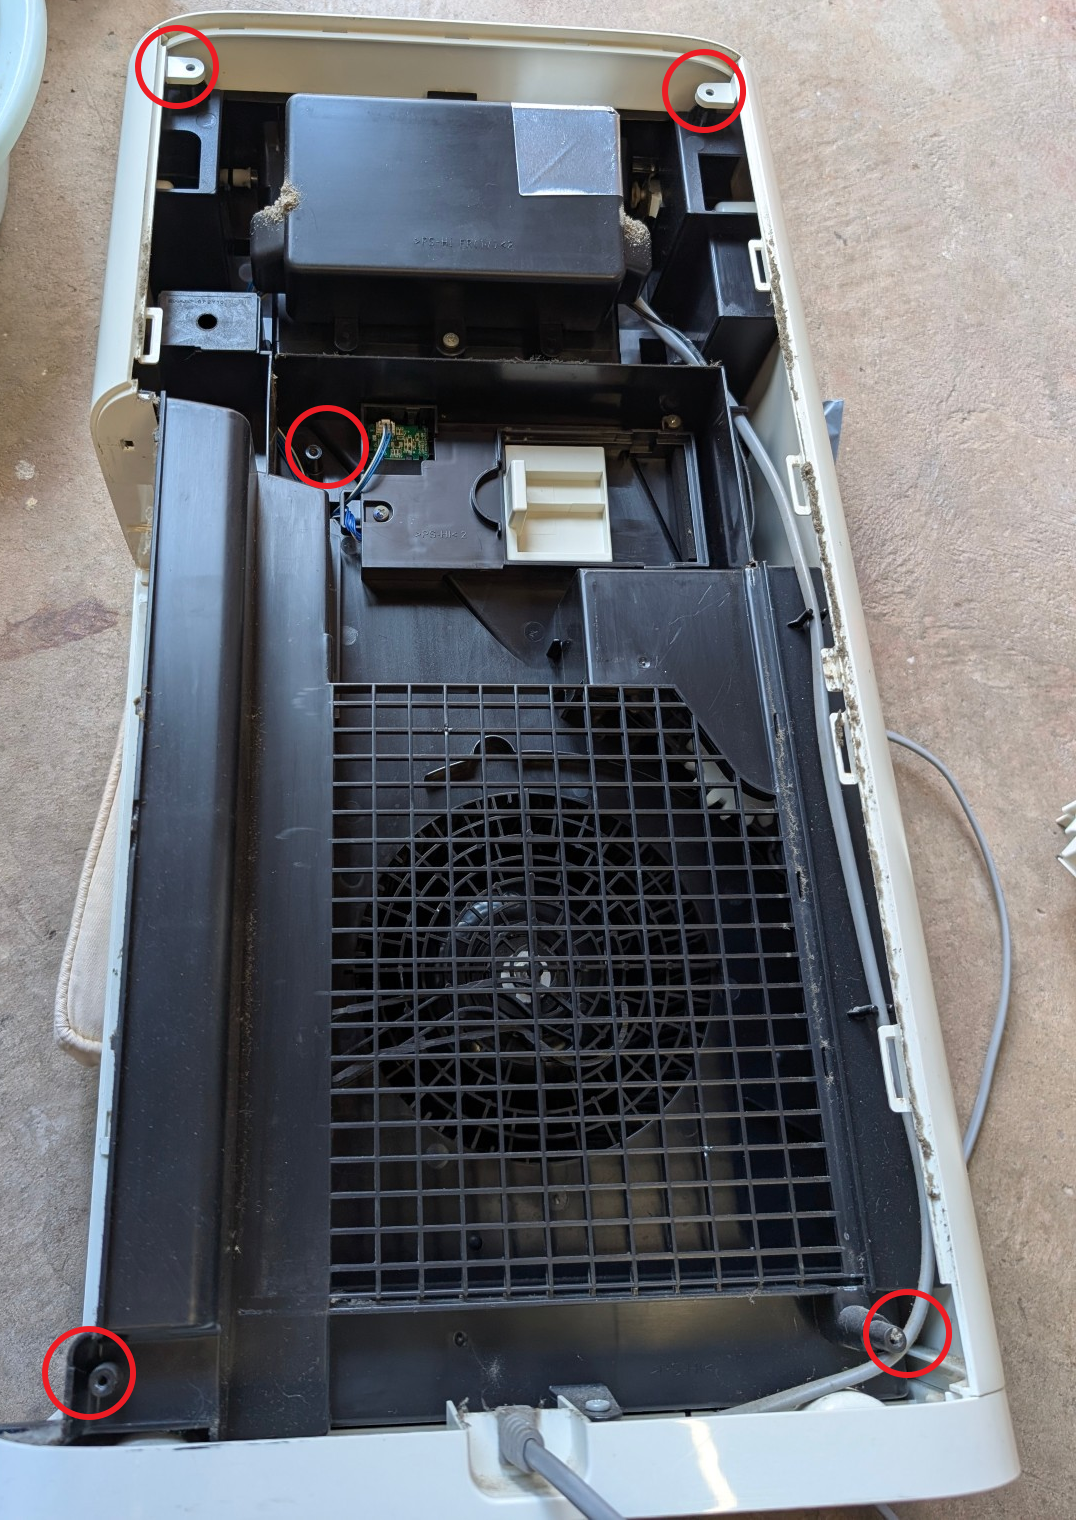
- Lay down the machine on a cushioned surface (to prevent scratches), remove the screws of the back enclosure
クッション性のある場所にマシンを置き(傷を防ぐため)、背面筐体のネジを外す。
Some screws showing in the picture are for the front enclosure. (Red)
写真に写っているいくつかのネジは前面筐体用です。(赤)
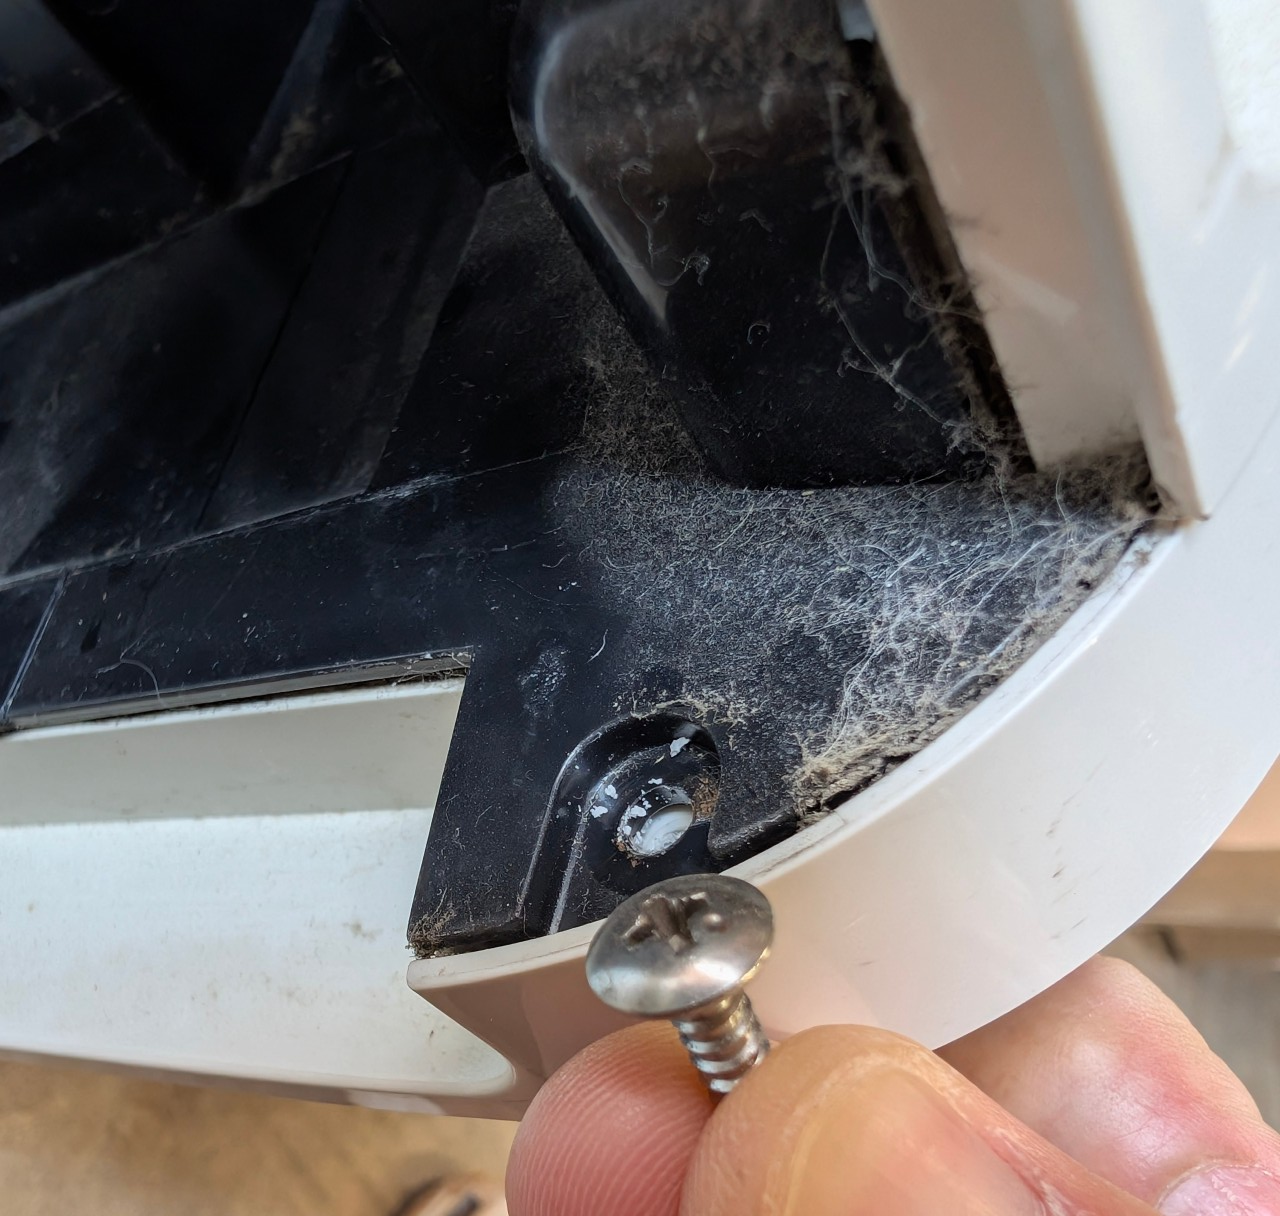
- Remove the screw near the water tank. (Be aware that this screw is different from the other screws, keep it separately)
水タンク付近のネジを外す。(このネジは他のネジと違うので、別に保管してください)


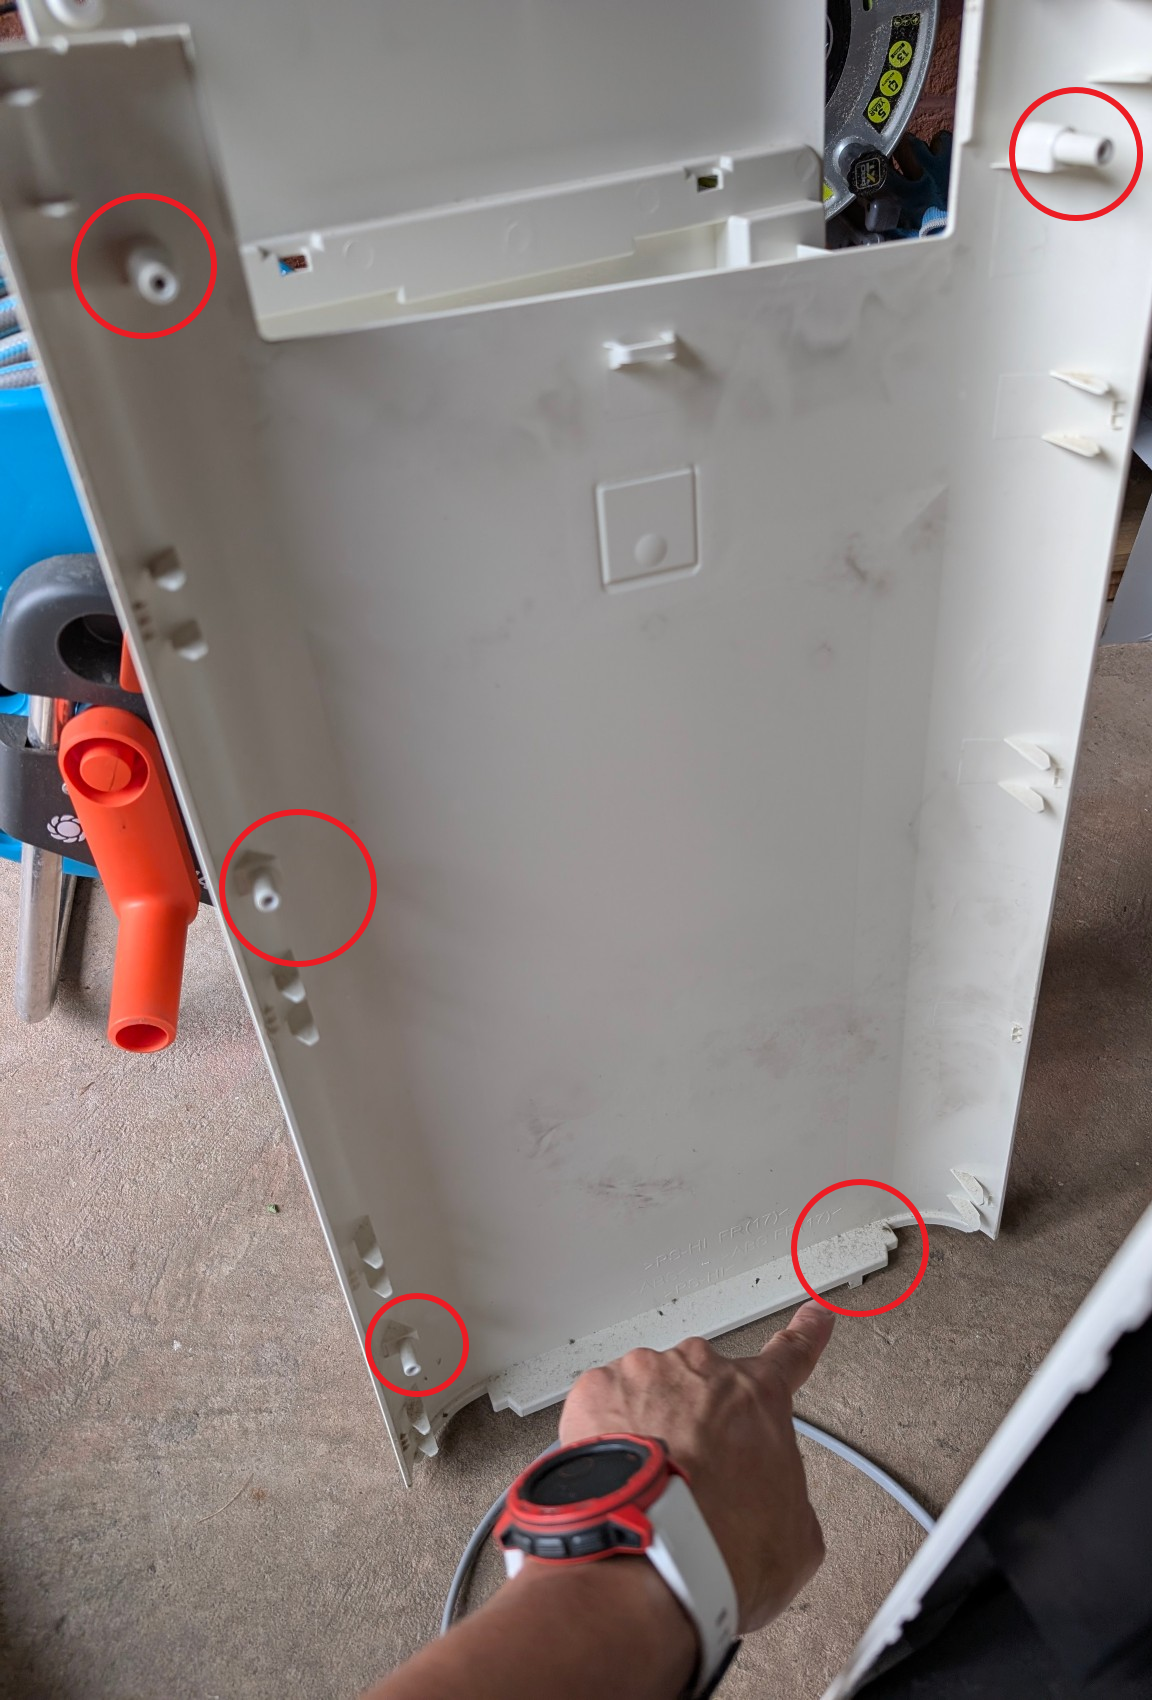
- Remove the back enclosure carefully
背面のエンクロージャーを慎重に取り外す
- Remove two screws for the front panel
(You may need a longer screwdriver to reach it)
フロントパネルのネジ2本を外す
(届くように長いドライバーが必要かもしれません。)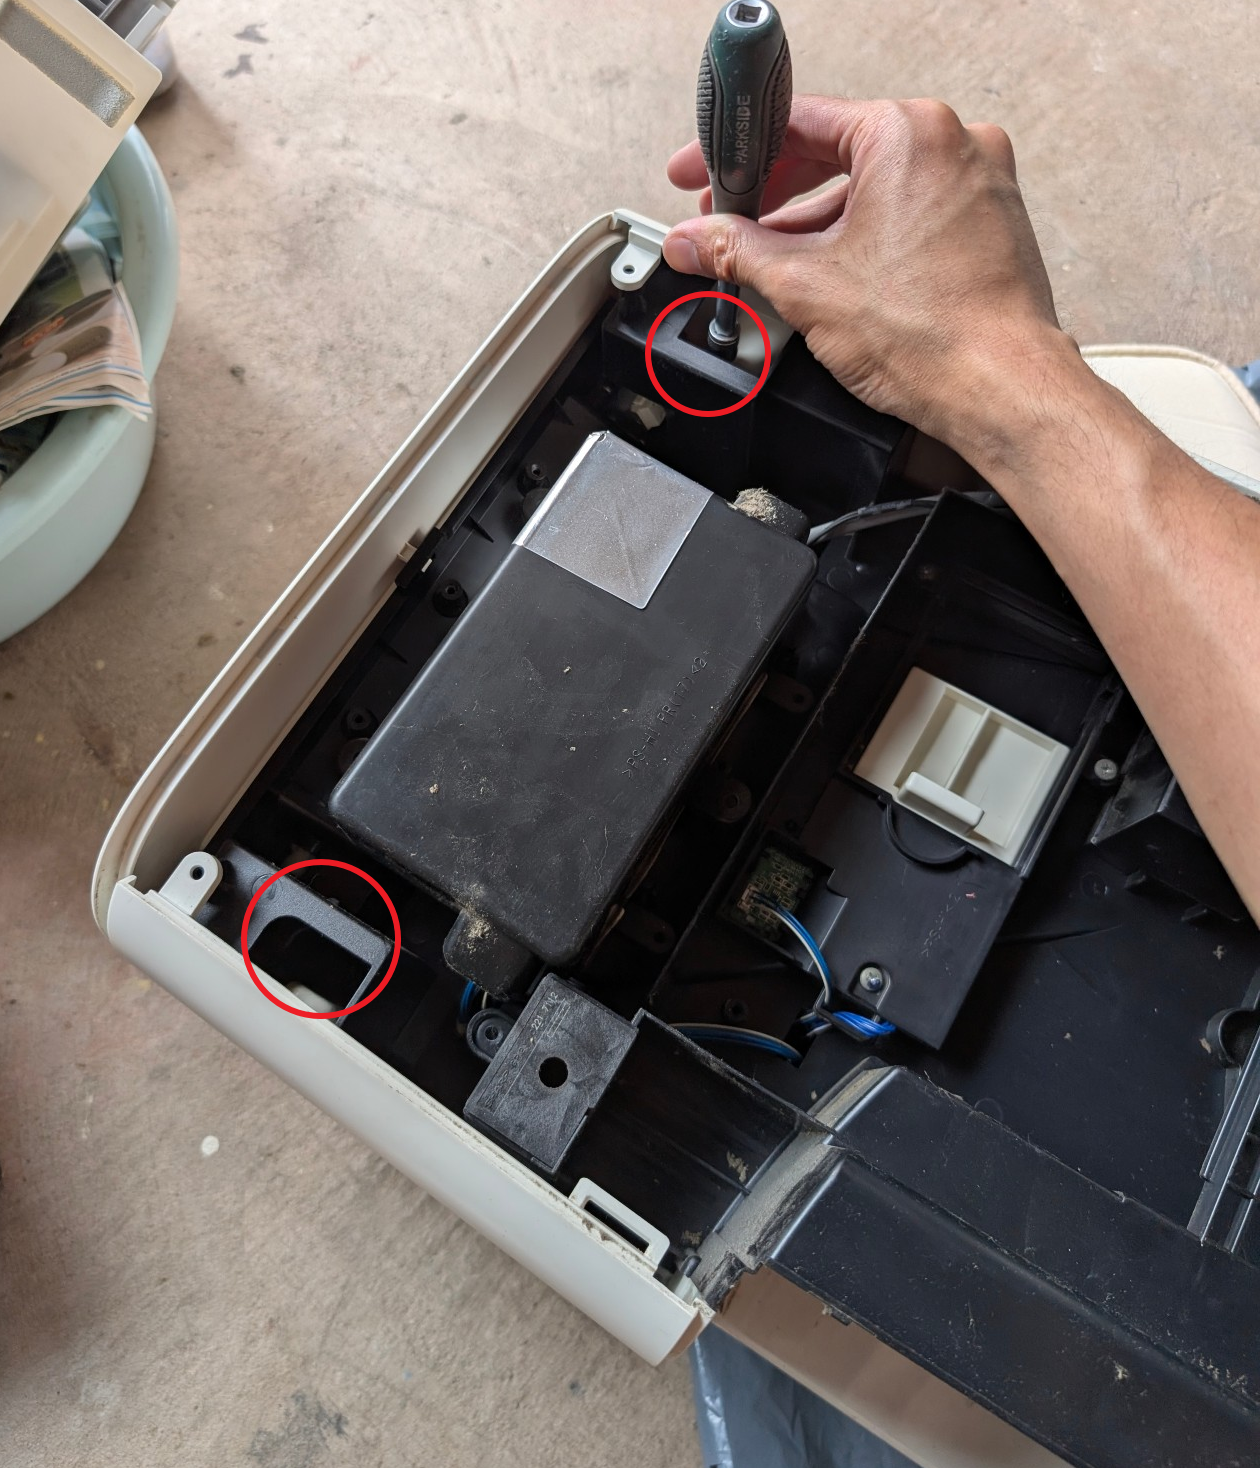
- Remove the front panel carefully
フロントパネルを慎重に取り外す
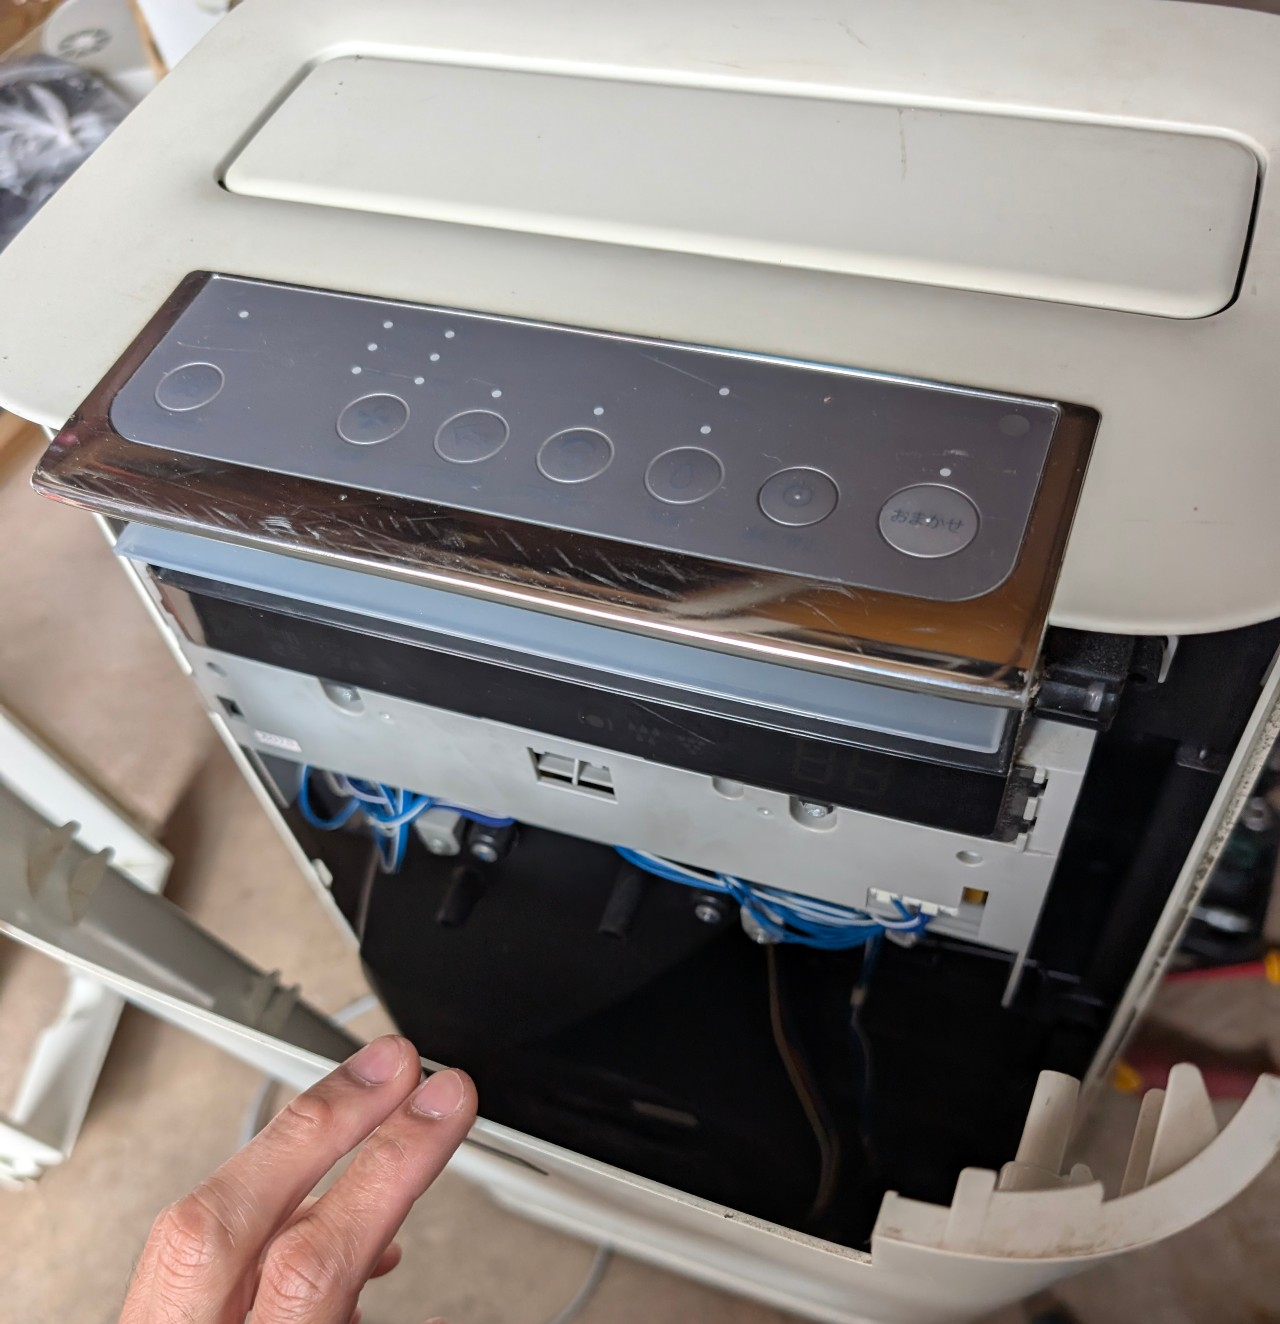
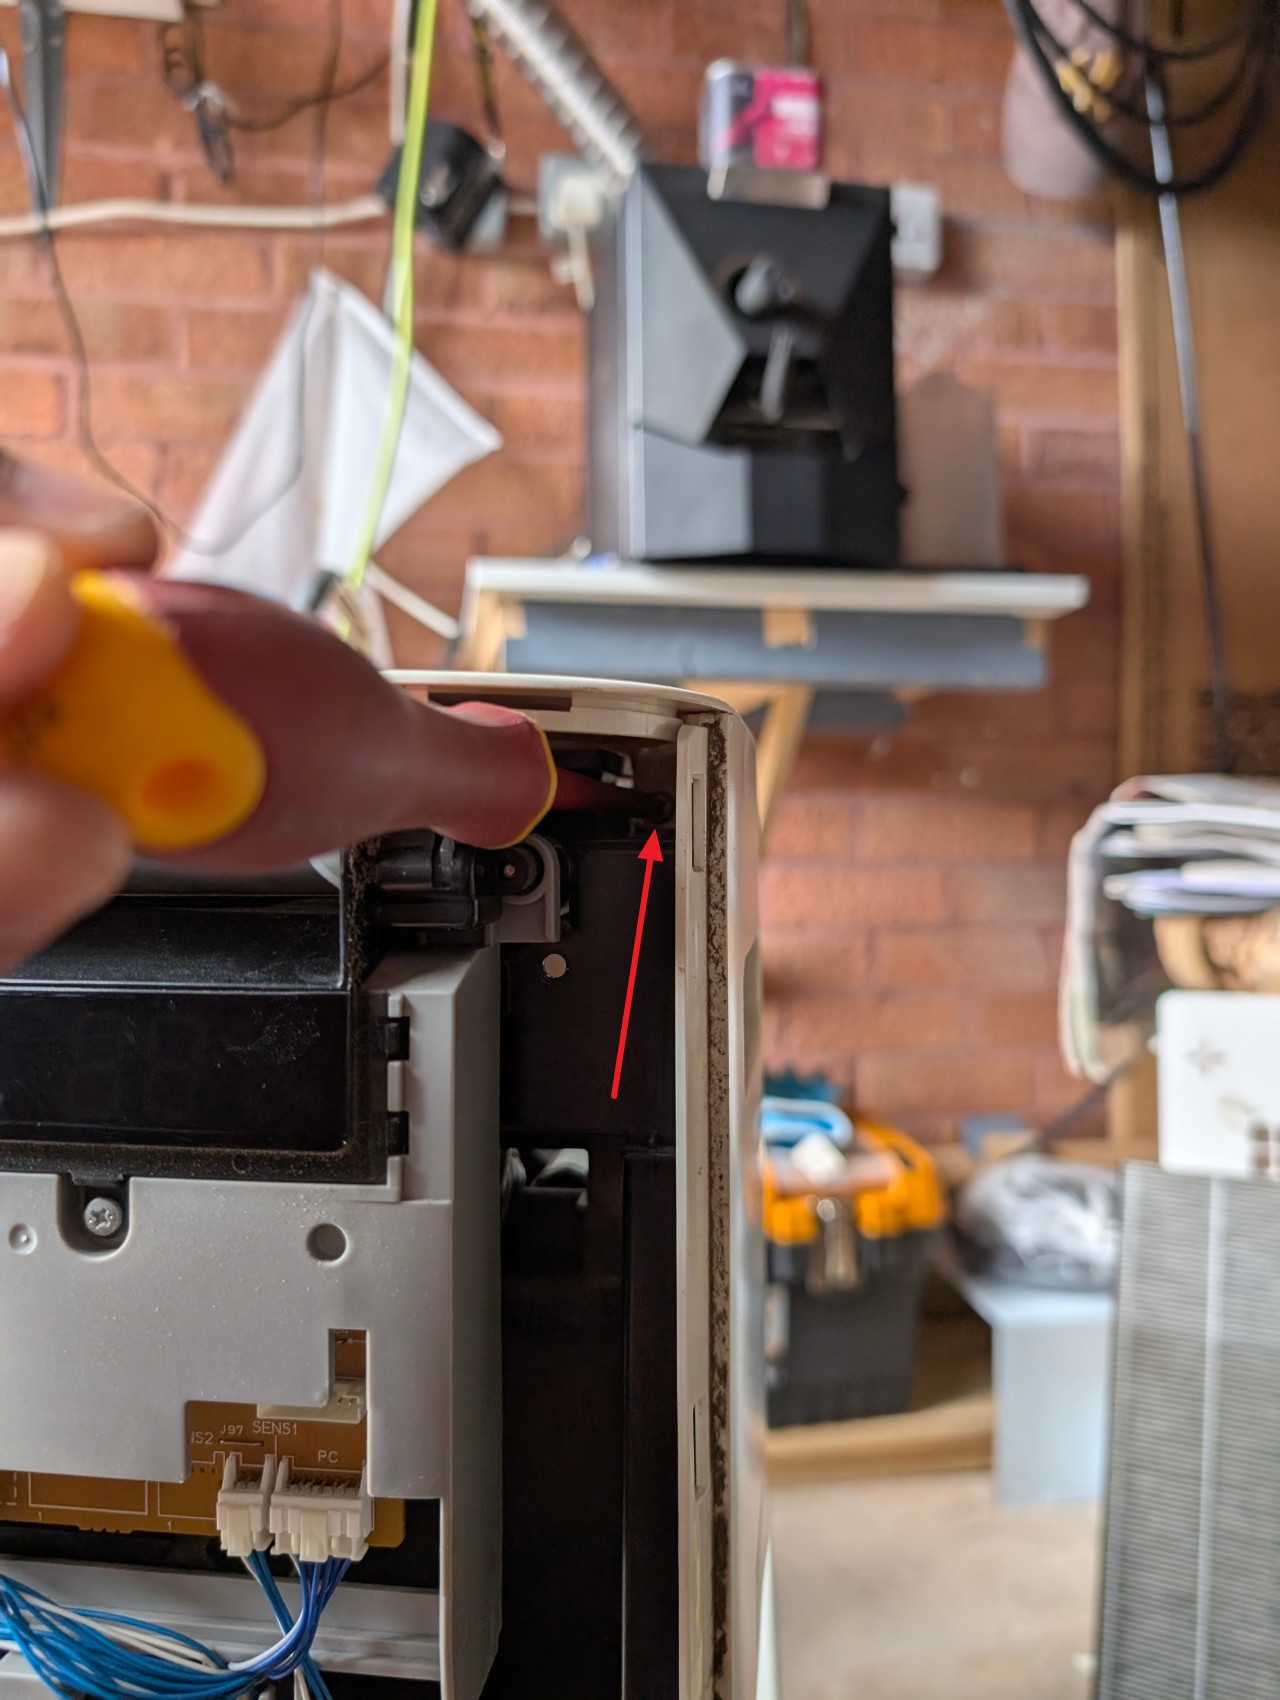
- At the bottom of the machine, there is a tab to hold the front cover, you may need to pry down the tab to remove the cover.
マシンの下部にはフロントカバーを固定するタブがあり、カバーを取り外すにはタブをこじ開ける必要があるかもしれません。

- From front side, remove two screws securing the top enclosure
前面から、上部の筐体を固定しているネジ2本を外します。
- Remove the top and side enclosures
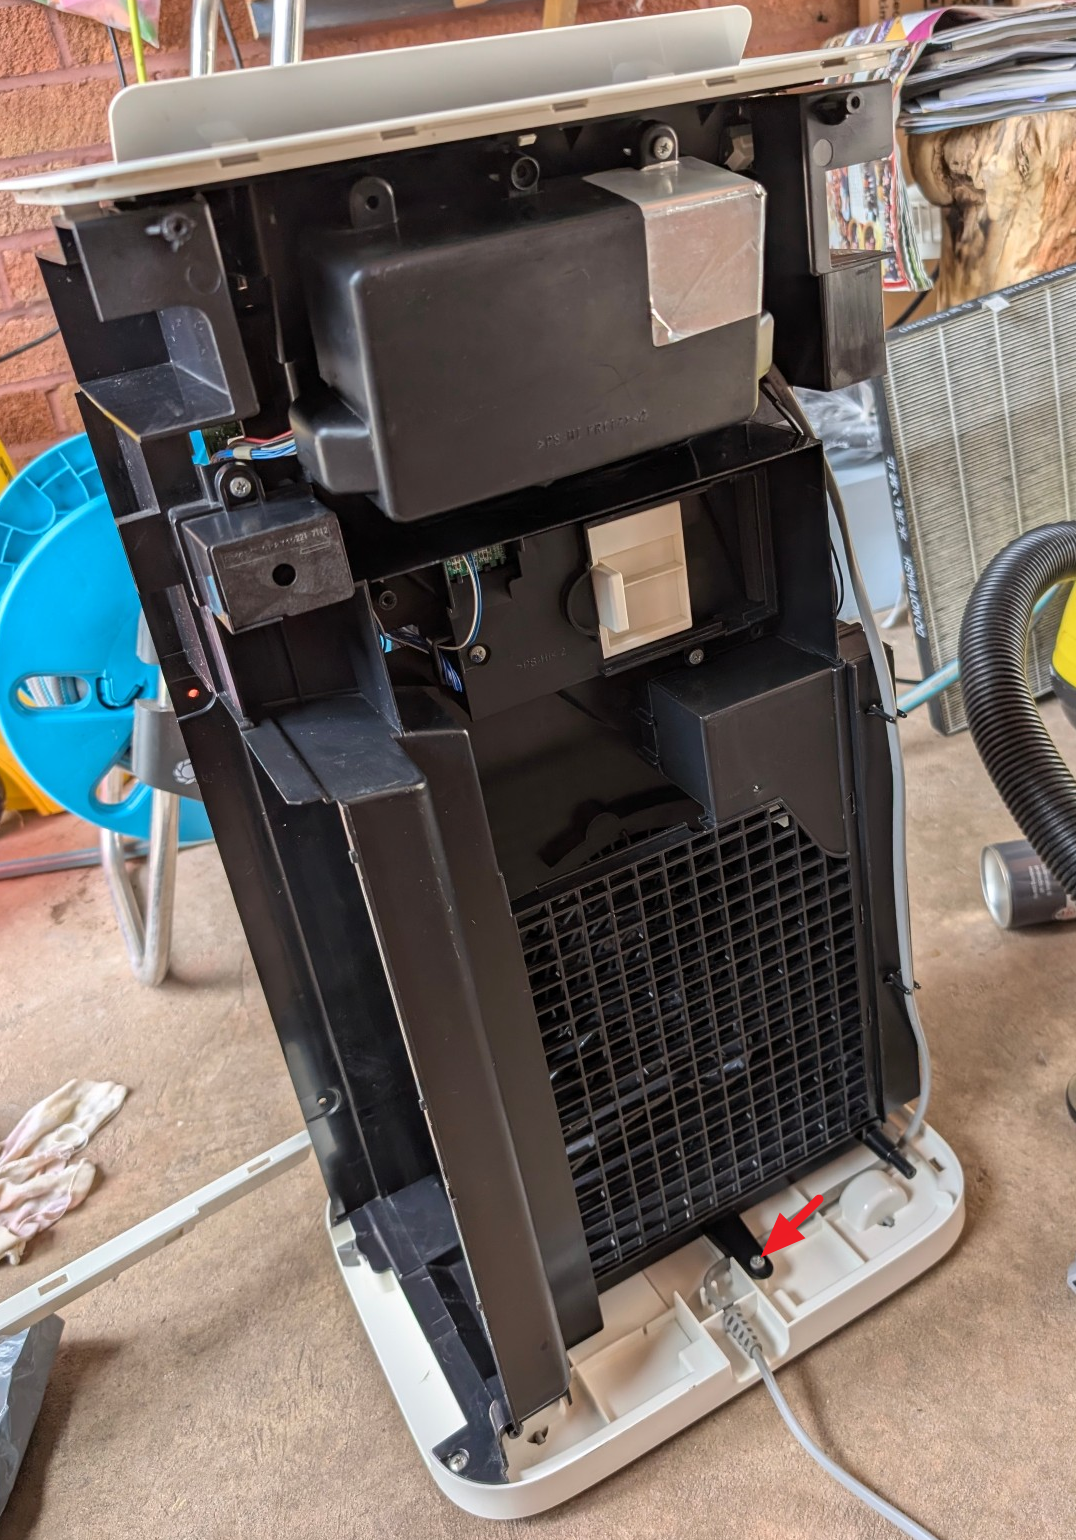
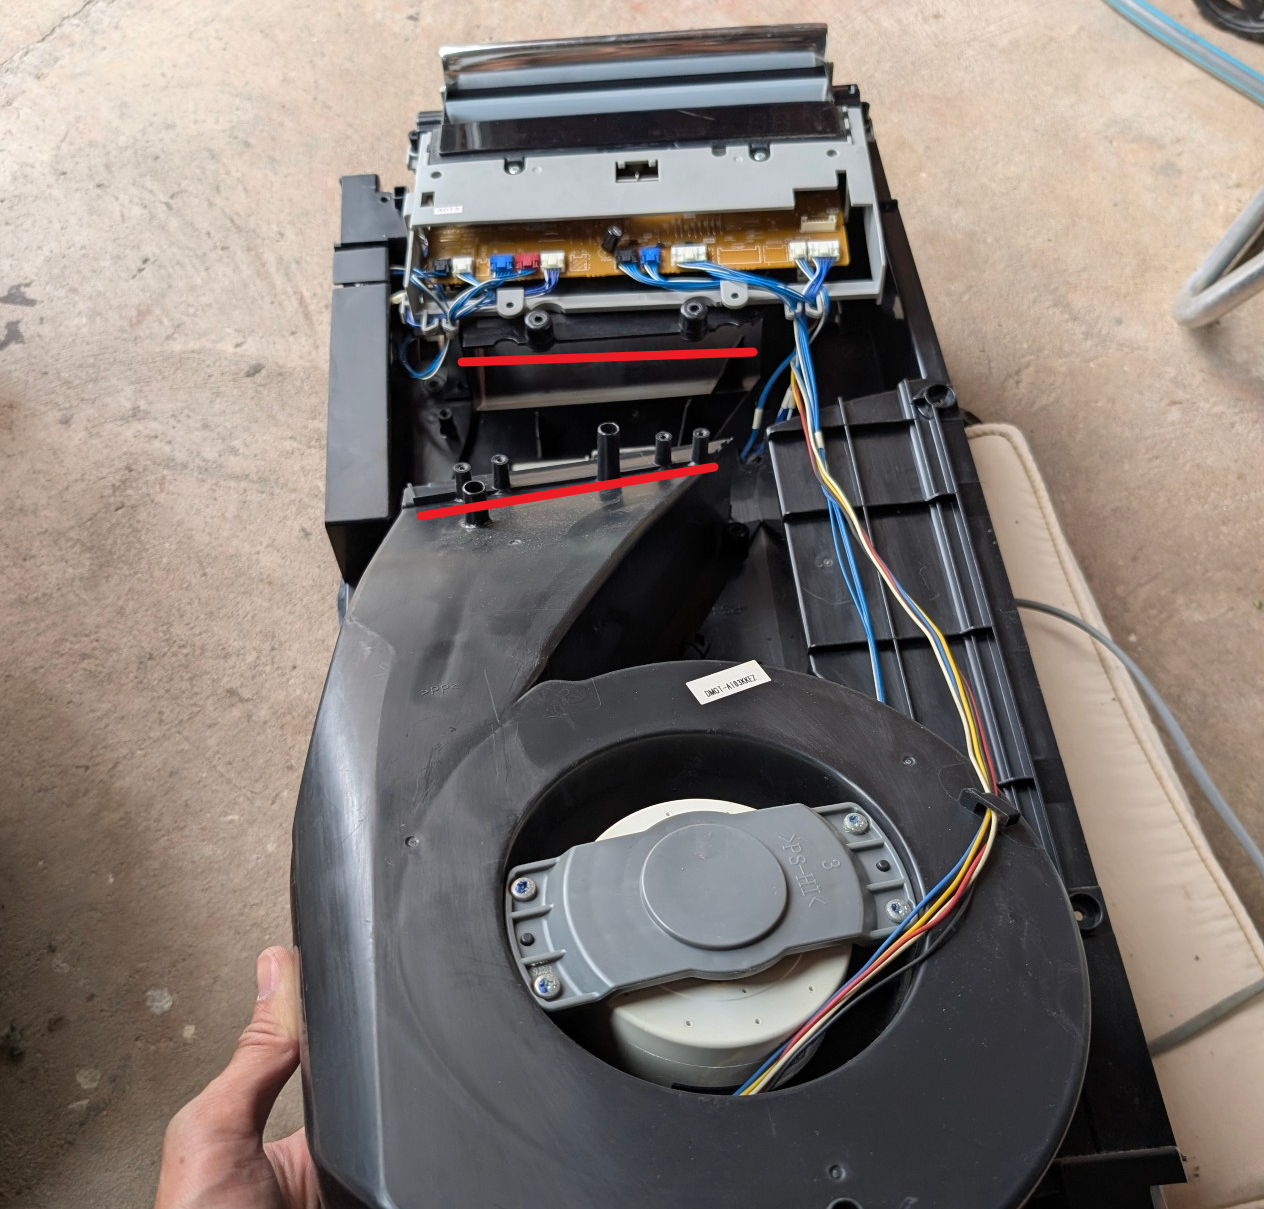
トップとサイドのエンクロージャーを取り外す - Lay down the machine again (Front towards you), remove screws securing the fan duct.
マシンを再び横にし(前面が手前)、ファンダクトを固定しているネジを外します。
7 screws on fan duct, 2 screws at the connecting part.
ファンダクトのネジ7本、接続部のネジ2本。
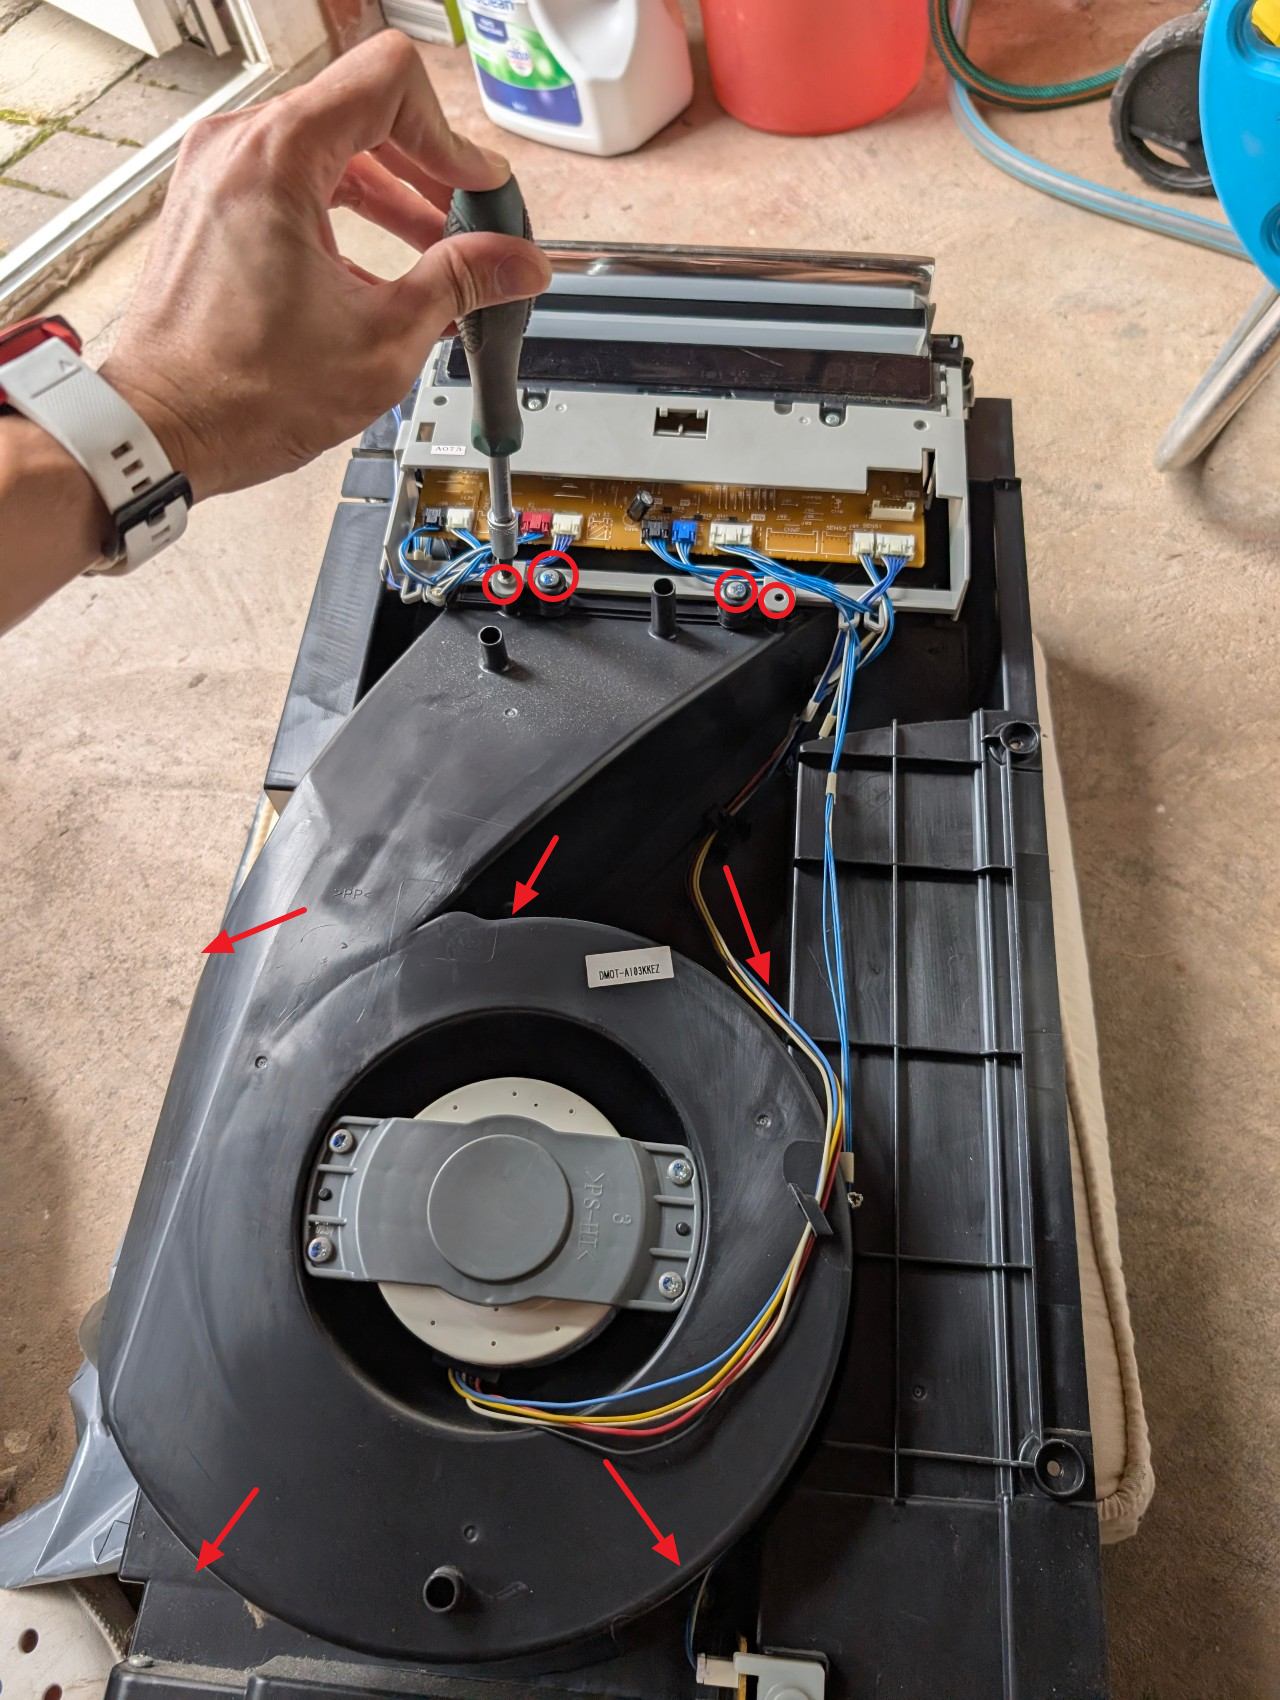
- The fan duct is clipped on the machine, lift the bottom part and remove it from the machine carefully
ファンダクトはマシンに取り付けられているので、下の部分を持ち上げてマシンから慎重に取り外します。

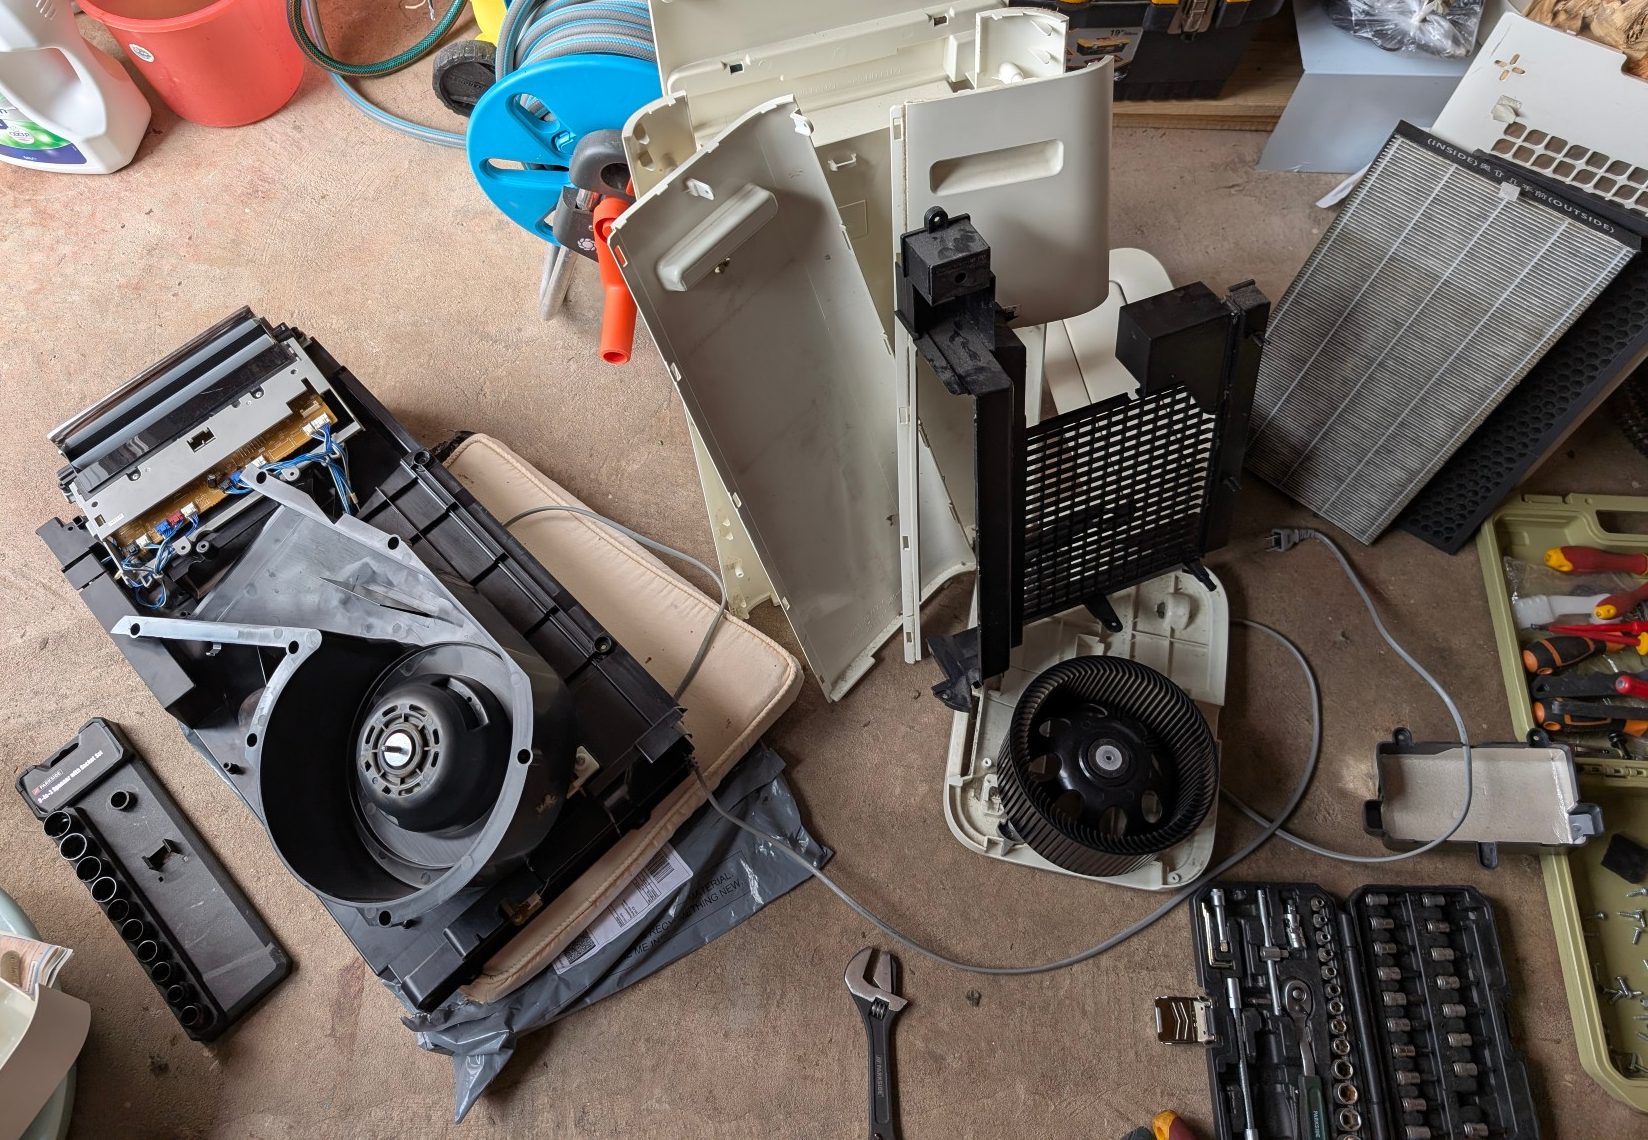
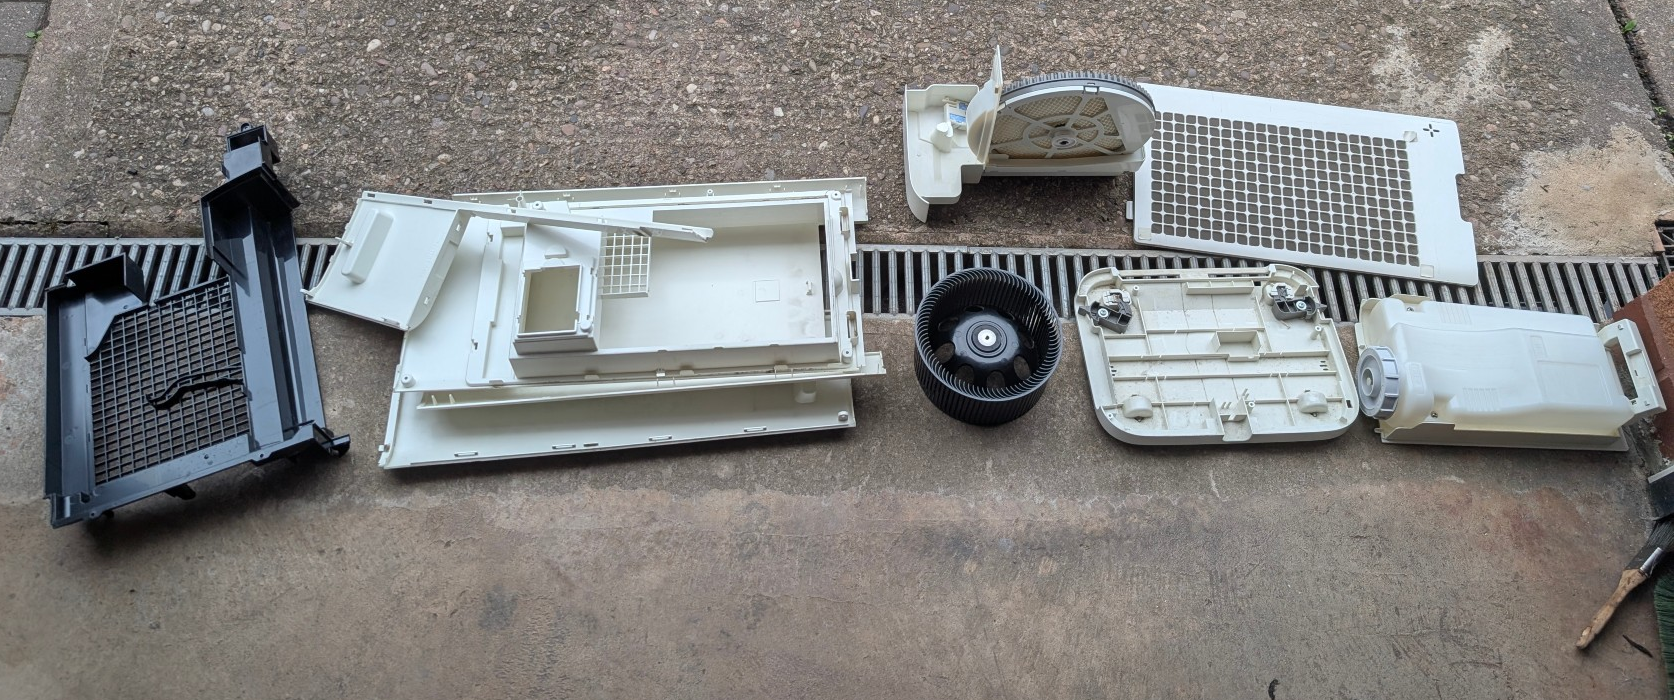
- At this point, you should be able to separate most of the parts.
この時点で、ほとんどのパーツを切り離すことができるはずだ。


No comments to display
No comments to display